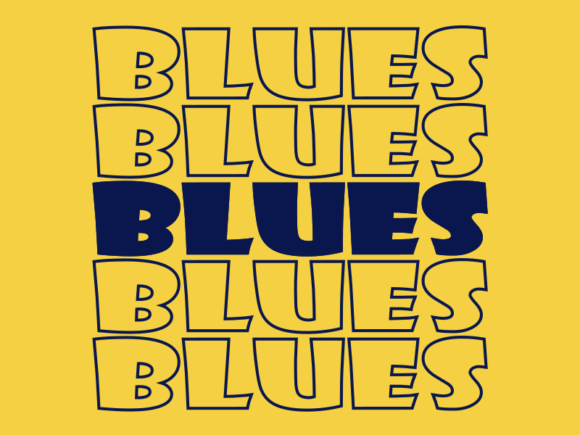
Blues SVG Cut File
If you’ve ever tried resizing a PNG or JPEG for a Cricut or Silhouette project—only to watch it blur, stretch, or pixelate—you already know why Blues SVG cut file matters. It’s not just another design download. It’s a resolution-independent vector graphic built for precision, flexibility, and real-world crafting. Whether you’re layering vinyl on a coffee mug, cutting leather for custom earrings, or prepping classroom decorations from felt, this format delivers clean edges at any scale—no guessing, no compromise.
Why “Scalable” Isn’t Just Marketing Talk
SVG stands for Scalable Vector Graphics—and “scalable” here isn’t theoretical. It means the lines, curves, and shapes in a Blues SVG cut file are defined by math, not pixels. So when you enlarge it 500% for a wall banner or shrink it to 0.5" for a charm pendant, every edge stays razor-sharp. That’s why crafters who switch from raster files (like JPGs) to SVGs often report fewer failed cuts, less material waste, and faster setup times—especially with intricate blues-themed motifs like musical notes, guitar silhouettes, or abstract wave patterns.
Common Missteps—and What They Cost You
Many people treat SVG files like plug-and-play assets. But subtle oversights can derail even experienced users. Here’s what actually trips people up—and how to sidestep it:
Mistake #1: Assuming All “Blues SVG Cut Files” Are Machine-Ready
Not all SVGs are created equal. Some include embedded raster images, ungrouped layers, or non-cuttable text converted to outlines incorrectly. When loaded into Cricut Design Space or Silhouette Studio, those files may show red error warnings, fail to slice properly, or produce jagged cuts. Worse: you might not notice until mid-project—after vinyl is wasted or fabric is scored.
Better approach: Before downloading, check if the file includes a preview of the actual vector paths (not just a rendered PNG), and confirm it’s been tested on both major platforms. Reputable sellers label files as “Cricut-ready” or “Silhouette-tested”—and often include a quick-start PDF with layer notes.
Mistake #2: Ignoring Material-Specific Settings
A Blues SVG cut file works across vinyl, cotton, leather, and felt—but your machine settings must match. Cutting 0.5mm faux leather requires different pressure and speed than 65gsm cardstock. Using default “paper” settings for heat-transfer vinyl? You’ll get incomplete weeding or scorched backing.
Better approach: Always consult your machine’s material guide *first*, then adjust blade depth, speed, and force accordingly. For complex blues-themed designs with fine linework (think delicate treble clefs or swirling soundwaves), reduce speed by 20–30% and do a test cut on scrap material—even if the file looks simple.
Mistake #3: Overlooking Color & Layer Management
SVGs let you change colors instantly—but only if layers are organized. A poorly structured Blues SVG cut file might merge all elements into one group, making it impossible to assign different colors to a guitar body vs. strings vs. background accents. That limits customization and forces time-consuming manual separation.
Better approach: Look for files labeled “layered” or “color-separated.” In Silhouette Studio, use the “Release Compound Path” and “Ungroup” commands early. In Cricut Design Space, verify each element appears as an individual layer in the Layers panel before welding or attaching.
What to Check Before You Download or Buy
Before adding a Blues SVG cut file to your library, ask these practical questions:
- Is the file truly SVG? Open it in a plain-text editor—if you see XML tags like
- Does it include commercial use rights? Many free downloads restrict resale or client work. If you’re designing invitations for a jazz festival or branding merch for a blues band, confirm the license explicitly permits commercial application.
- Are there multiple formats included? The best packs bundle SVG, DXF (for older machines), and sometimes PNG (for print-only backups). Having options avoids last-minute format panic.
- Is the designer responsive? A quick reply to a pre-purchase question about compatibility or licensing signals reliability—not just convenience.
Real Projects, Real Flexibility
Crafters aren’t limited to paper crafts anymore. With a well-structured Blues SVG cut file, educators cut stencils for rhythm worksheets; small-batch jewelry makers etch brass pendants with vintage microphone motifs; marketers create cohesive event kits—banners, stickers, and digital assets—all pulled from the same scalable source. Even bloggers use them to generate consistent social media graphics: resize the same SVG for Instagram posts, Pinterest pins, and printable quote cards—without recreating layouts.
The key isn’t just owning the file—it’s knowing how to deploy it without friction. That means verifying paths before cutting, matching material specs to machine settings, and respecting licensing boundaries. It also means recognizing when a “free” SVG lacks the clean node structure needed for tight corners or nested cuts—and opting instead for a vetted, creator-supported version.
Start Smart, Not Just Fast
You don’t need advanced software skills to benefit from a Blues SVG cut file—but you do need awareness. Skipping the preview step, assuming universal compatibility, or rushing through material calibration leads to rework, frustration, and inconsistent results. The most efficient crafters spend two minutes checking layers and settings before loading the mat. They test on scrap. They read the license. They choose files built for function—not just aesthetics.
That attention pays off: cleaner cuts, richer color control, broader material use, and projects that hold up whether they’re pinned to a bulletin board or pressed onto a tote bag. A Blues SVG cut file isn’t magic—but treated with intention, it’s one of the most versatile tools in your creative workflow.